With over 1000 clay makers inside already,
I'm confident you're going to LOVE these courses!
More of what other makers are saying
"couldn’t be happier with the experience"

"I recently purchased this Course and couldn’t be happier with the experience. For the price, it’s an incredible value—packed with clear, concise, and practical information that took me from complete beginner to confidently printing my own cutters in just one day. The course is well-structured and easy to follow, even if you’ve never touched a 3D printer before. It covered everything I needed: from basic terminology and choosing the right materials, to setting up the printer and troubleshooting common issues. The examples made the learning process fun and immediately applicable."
- Lisa Marcantonio
"A game changer!"
"I am so glad that I found this course! I was spending a small fortune on clay cutters and now I can easily make my own with a few simple steps! I highly recommend this course and am now wanting to expand my skills with the fusion class!"
- Emma Thurgood
"Exactly what I was looking for and needed."
"I’m so glad I found your course! It took away so much pressure from getting started with designing and printing my own cutters without having to figure everything out through trial and error. The tutorials were easy to understand and follow, providing all the information needed—even for someone with no prior experience using a 3D printer. I’m also impressed by how questions and problems are addressed, with solutions provided. I’m excited to see what other courses you’ll offer in the future. Thank you so much! :)"
- Clara
STILL NOT SURE?
Frequently Asked Questions
Do I need to know anything about 3D printing to take this course?
Not at all! This course was made for total beginners. You don’t need any tech skills, design background, or experience with 3D printers — I walk you through everything, step by step.
Will I learn to design my own cutters?
Not in this course, but I do have a special offer for you on the next page if you'd like to learn how to design your own cutters too!
What kind of 3D printer do I need?
I highly recommend (and most of my students have) a Bambu A1 mini 3D printer.
What if I don't have a printer yet?
That’s totally fine!. You can go through the first modules while you wait for your printer to arrive or if you want to make sue of someone else's printer, like a friend or a library's.
How long is the course? Can I do it at my own pace?
It will depend on how fast you want to work through it but these courses are lifetime access, so you will have time to work on them as you are able!
What's the membership?
The membership comes as a bonus to the course. This is just a place where makers like you can share their makes, get support, get feedback, and ask questions!
What kind of files will I print with this course?
You’ll be using .STL files — the most common type for 3D printing. You will also learn about using Bambu's .3mf files. The course comes with 50 exclusive cutter files, but you can also use files from your favorite shops or free download sites.
What if my prints don't come out right?
That’s totally normal when you’re learning — and I’ve got you covered. There's a specific section for troubleshooting plus access to a supportive group where you can ask questions and get help!
Are the video lessons close captioned for accessibility?
Yes! There is an option for closed captions and subtitles in French, Spanish, and German. (Please note these are AI translated and therefore not perfect. Thank you!)
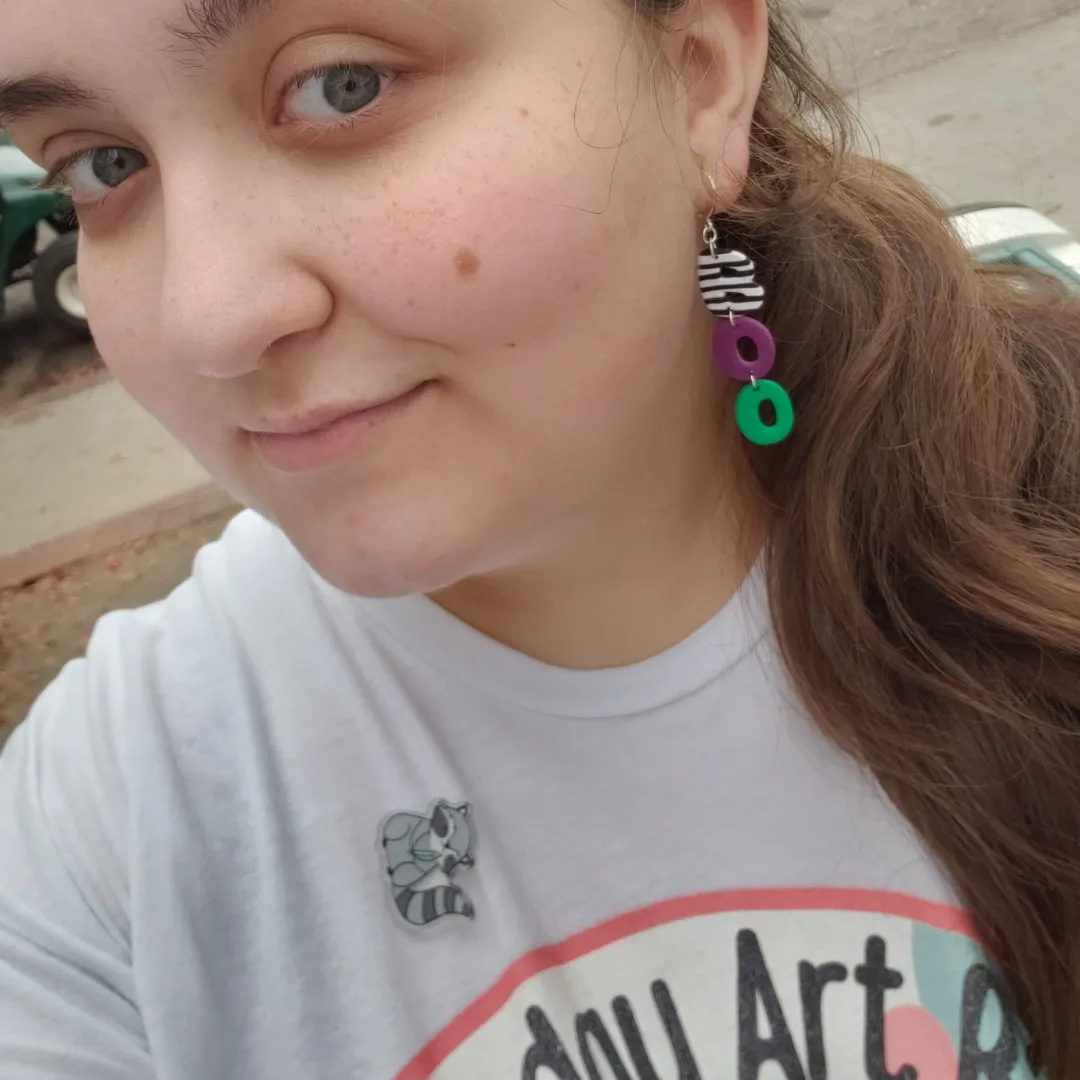
Have we met?
Hey! I'm Alex!
I started out making polymer clay earrings — probably in the same spot you’re in now.
Wishing I could 3D print my own cutters.
Knowing it would save me time and money.
But honestly? I was completely clueless when it came to 3D printing.
After weeks of research, Facebook group stalking, and endless “I have no idea what I’m doing” thoughts... I finally took the leap and bought a 3D printer.
It took me four hours just to put it together. I had no idea what I was doing.
But once I got it set up?
I was READY. I was EXCITED.
Only for that first cutter to come out looking... well... like total crap.
I wanted to give up. But over the next six months,
I figured it out — the hard way.
All it cost me was several rolls of filament,
a whole lot of trial and error… and probably my sanity 😂
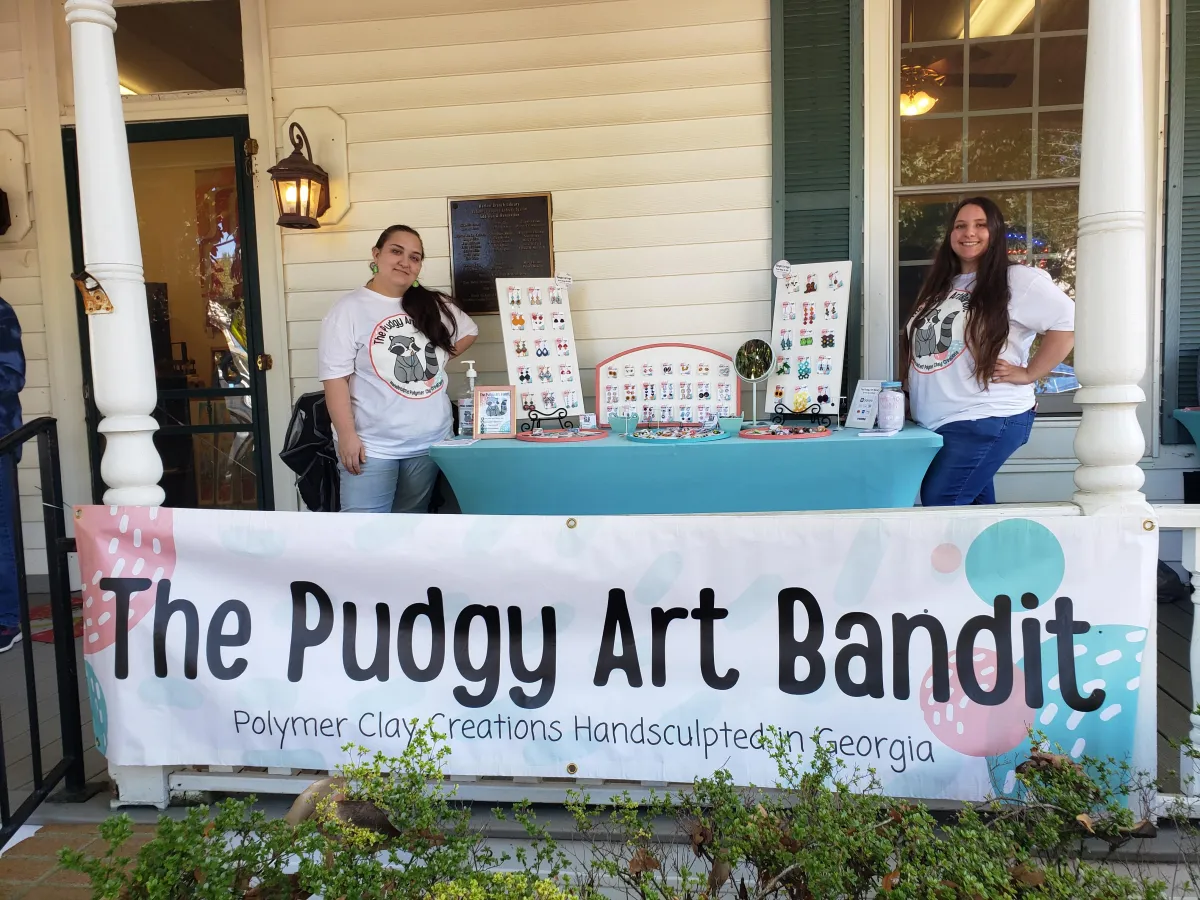
After becoming a successful clay tool seller, I realized I
wanted to help other polymer clay earring artists do
what I did — just easier, faster, and way more fun.
So what are ya waiting for? Let’s go!
Have we met?
Hey! I'm Alex!
I started out making polymer clay earrings — probably in the same spot you’re in now.
Wishing I could 3D print my own cutters.
Knowing it would save me time and money.
But honestly? I was completely clueless when it came to 3D printing.
After weeks of research, Facebook group stalking, and endless “I have no idea what I’m doing” thoughts... I finally took the leap and bought a 3D printer.
It took me four hours just to put it together. I had no idea what I was doing.
But once I got it set up?
I was READY. I was EXCITED.
Only for that first cutter to come out looking... well... like total crap.
I wanted to give up. But over the next six months,
I figured it out — the hard way.
All it cost me was several rolls of filament,
a whole lot of trial and error… and probably my sanity 😂
After becoming a successful clay tool seller, I realized I
wanted to help other polymer clay earring artists do
what I did — just easier, faster, and way more fun.
So what are ya waiting for? Let’s go!


Copyrights 2025 | The Crafty Clay Babes | Privacy Policy